START ITERATING AND APPLYING
VISUAL DESIGN TO YOUR APPLICATION
1st
FINISH YOUR
USER TESTING
2nd
FINISH YOUR USER TESTING
SYNTHESIS USING MIRO.
3rd
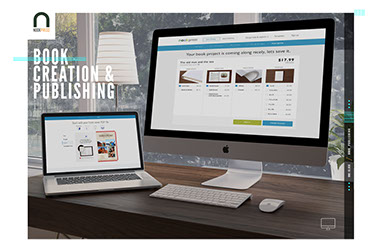
START APPLYING THE
HI-FIDELITY VISUAL
DESIGN TO YOUR APP.
DON'T FORGET TO START THINKING AND POPULATING
CREATE A LONG
ILLUSTRATOR OR SKETCH
FILE AT 1224 pixels WIDE
-
PUT THIS FILE IN YOUR GOOGLE
DRIVE FOLDER - CALL IT CASE
STUDY
-
// CASE STUDY example
// CASE STUDY OUTLINE

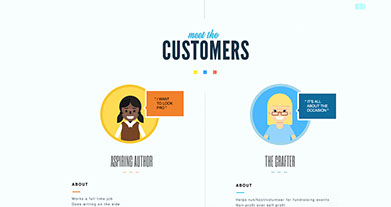

Introduce your Target Audience
Don't use the persona yet. Just
user profiles here.
• Their Persona Names:
– Frequent Flyers
– Occasional Flyers
– Bart/Muni Commuters
• About them
– Describe a little bit of information about them
– Just describe a day in the life"
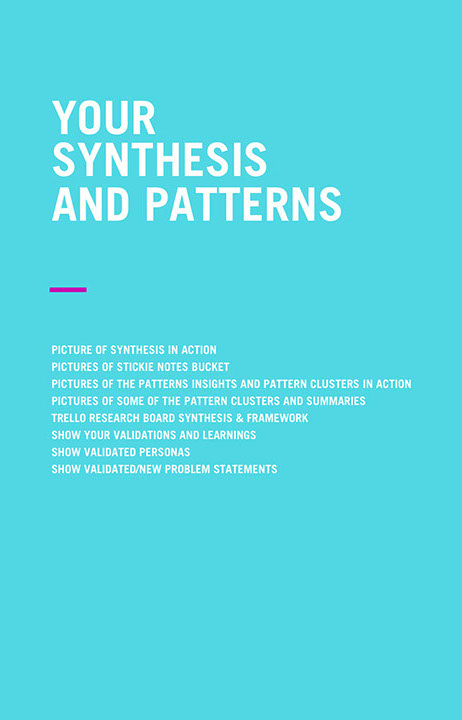
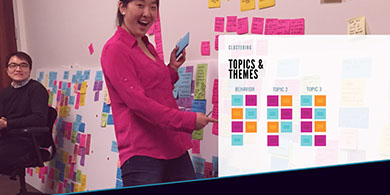
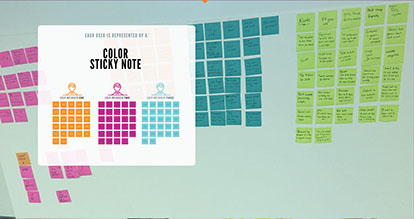
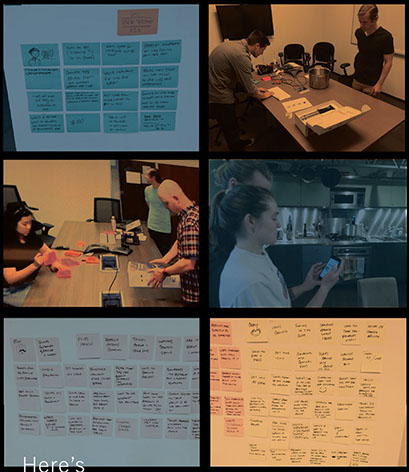
Introduce your synthesis:
• Show the pictures of user buckets
that we did in class
• Show the pictures of user buckets
done in realtime board
Show your Patterns:
• Show the pictures of the patterns
that we did in class
• Show the pictures of your patterns
done in realtime board
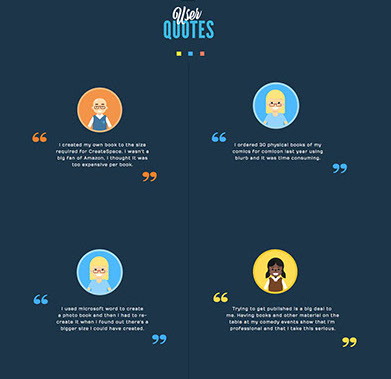
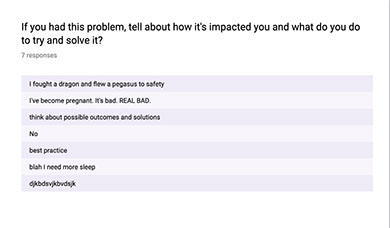
Show a couple very interesting quotes
that help you build your case on why you
are focusing on a certain problem.
-
Remember:
• Design like a scientist
• Decide like a lawyer
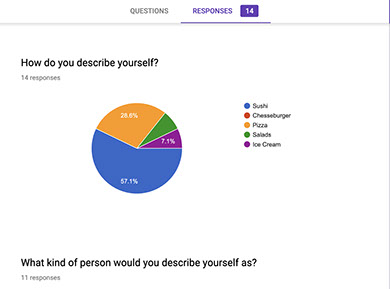
Show some of your survey responses
-
Highlight some key responses
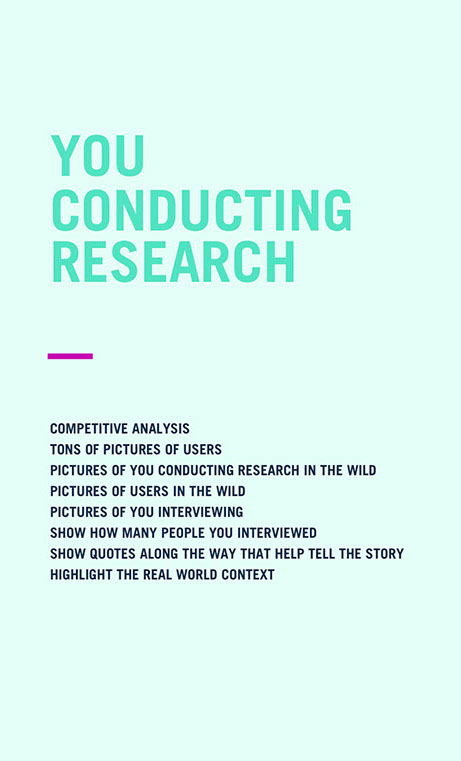
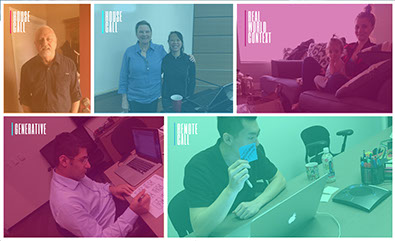
Show pictures of you interviewing.
Lots of pictures!!!!!
Show more than what I have.
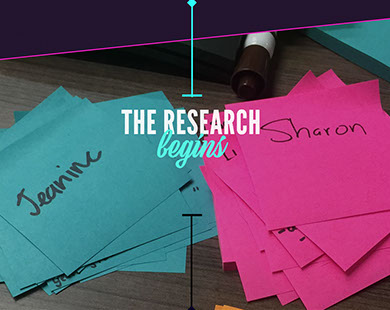
Introduce the research
Show how many
people you interviewed
in a visual way
Show some learning goals
Show 2-3 questions under the learning goal
Show pictures of your users
-
You can also show a page from you
user script or topic map.
-
You can have a link to your
user script as well.
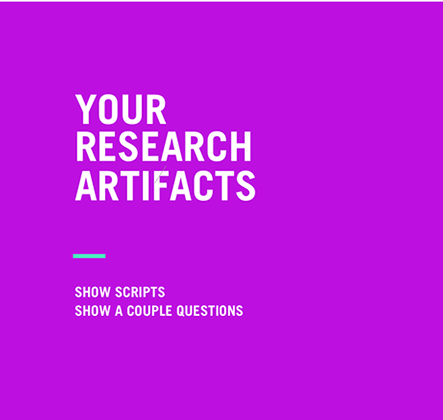
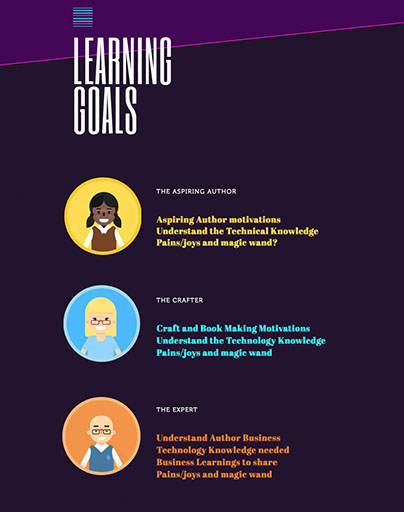
SHOW LEARNING GOALS
SHOW A 2-3 QUESTIONS UNDER EACH LEARNING GOAL
SHOW A PAGE FROM YOUR RESEARCH SCRIPT
Do this section last.
Just create a space for
the content..
Create the layout.
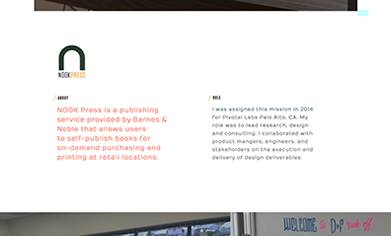
Just put your role
and a placeholder logo.
You can add the about
section later. Use
placeholder text.
_
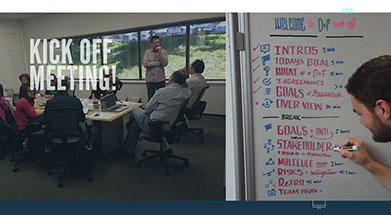
You can add a
picture of the kick off
meeting and/or the company
mission statement.
_
HIGHLIGHT THE COMPANY
MISSION STATEMENT
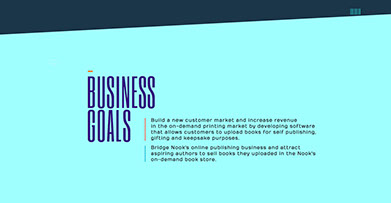
Make your goals look good!
Make this just placeholder
You will come back later
and update it...
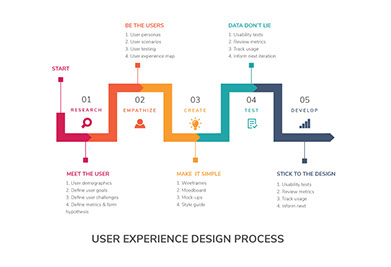
INTRODUCE THE PROCESS OR
THE CHAPTERS OF YOUR
CASE STUDY.
• COMPETITIVE ANALYSIS
• RESEARCH/DISCOVERY
• RESEARCH INSIGHTS/LEARNINGS
• PROBLEM VALIDATION
• IDEATION/CONCEPTS
• WIRE-FRAMING
• USER TESTING
• FINDINGS/LEARNINGS
• FINAL PROTOTYPE
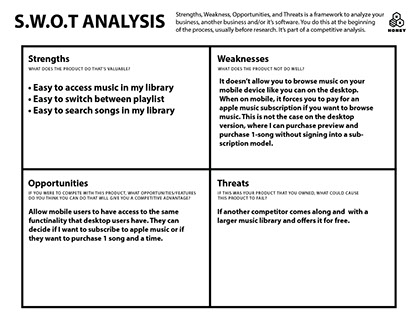
INTRODUCE YOUR
COMPETITIVE ANALYSIS
FOR 2 PRODUCTS
AND SHOW THE
S.W.O.T FRAMEWORK
MAKE IT PRETTY.


INTRODUCE THE PROCESS
SHOW YOUR COMPETITIVE ANALYSIS & S.W.O.T. FRAMEWORK.


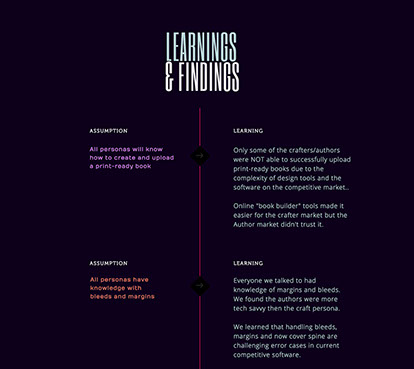
Put your key insights
next to your learning goals
—
What did you learn about
your learning goals?
—
What were the patterns that
you found?
—
How many people said this
pattern? ex: 14/19 people said "_"
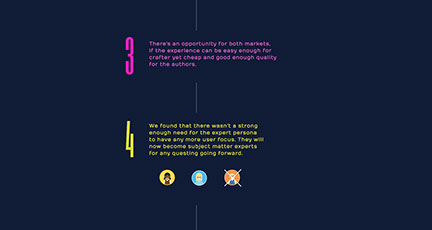
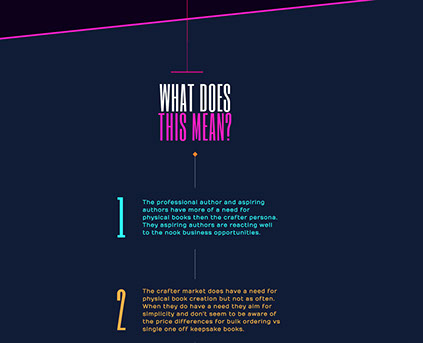
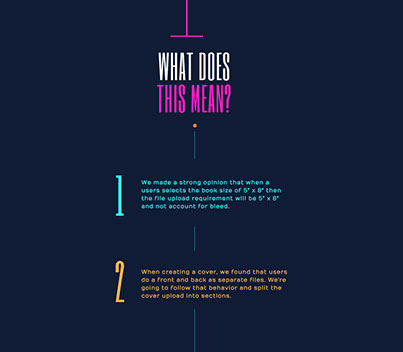
You can create a section
like this to CALL OUT the
decisions you made based off the learnings above.
—
Explain why you are going to focus on a certain aspect of the problem you learned.
-
It does not need to be more than one decision. It can be just one decision. This is the place to call out the reasoning behind the problem.
—
The next slide (homework for next week) will be the problem statement(s).
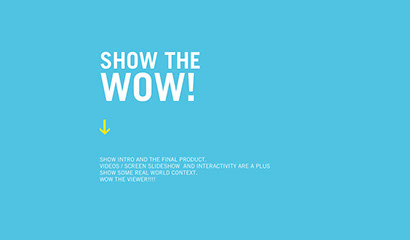
ADD A FINAL WOW IMAGE IN BEGINNING AND THE END OF YOUR CASE STUDY
-
THE BUSINESS GOALS - WE WILL ADD THOSE TODAY OR NEXT WEEK
-
THE ROLE SECTION AND APPLICATION LOGO/ICON
-
Introduce YOUR
EMPATHY MAP
Add some copy that says:
I took all my learnings from research and created an empathy map. You may also choose to show YOUR PERSONAS
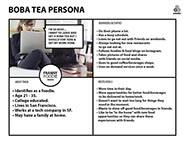
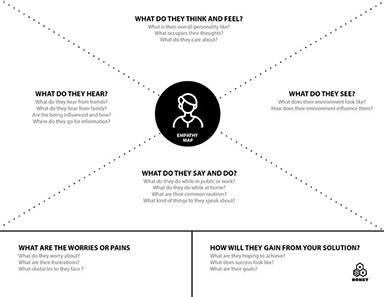
EMPATHY MAP
AND/OR
PERSONAS
WRITE YOUR PROBLEM
STATEMENT
SHOW SOME SKETCHES
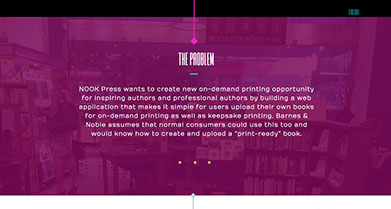


WRITE YOUR
PROBLEM
STATEMENT
Write your Solution statement
Example:
A mobile application that allows clipper card users, to upload their clipper card, check the balance and
easily add money to the clipper card anytime and anywhere, all at the touch of their finger tips.
-
Show sketches:
You can show the value prompt
sketches we did or ui
sketches that you made.

SHOW CONCEPTS AND
CALL OUT SOME LEARNINGS
Show your concepts:
Call out some of the learnings,
what people liked and what
people didn't like.
THIS IS OPTIONAL AND
EXTRA CREDIT.
-
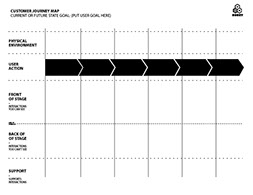
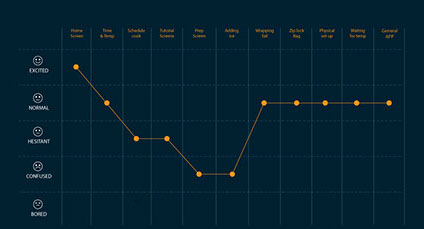
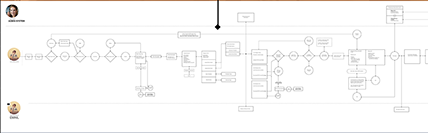
INTRODUCE AND
SHOW YOUR CUSTOMER
JOURNEY MAP OR
ANY MODELING THAT
YOU HAVE DONE
-
If you show it, you
can make it look
pretty.
SHOW YOUR
CUSTOMER
JOURNEY MAP
OR ANY MODELING
(OPTIONAL)
MAKE
IT LOOK
GOOD
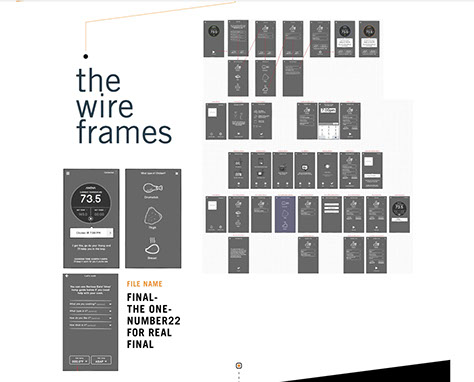
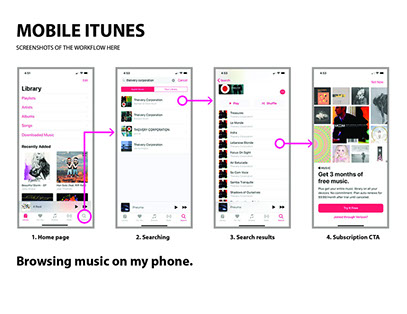
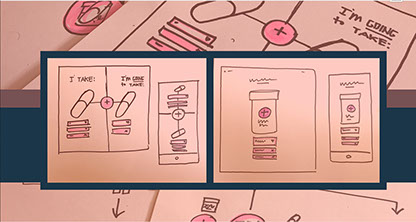
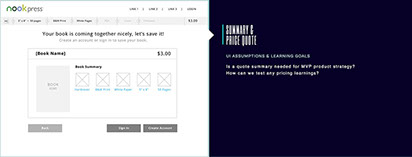
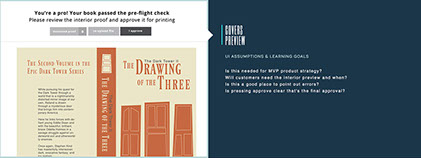
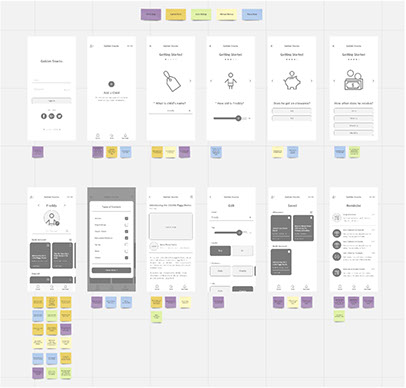
INTRODUCE YOUR WIRE FRAMES
-
You can add a button to link
to the wirefarme like I have here,
but not necessary, just show the
workflows and screens
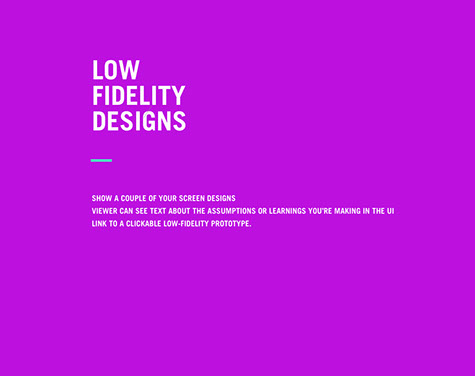
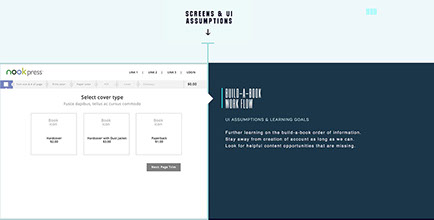
You can show you
screens and the questions
and/or learning goals
you have next to the
screen designs
You can also just show
the designs like the example
on the left to this image.


Introduce the user testing
-
Show lots of pictures
of you testing,
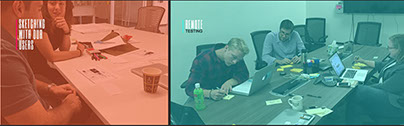
Show user testing
Lots of pictures of you
testing, More than
I have here
Show user testing
Lots of pictures of you
testing, More than
I have here
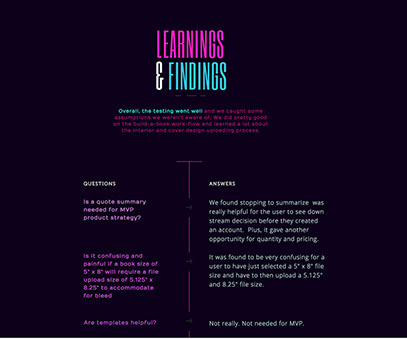
SYNTHESIS
THE
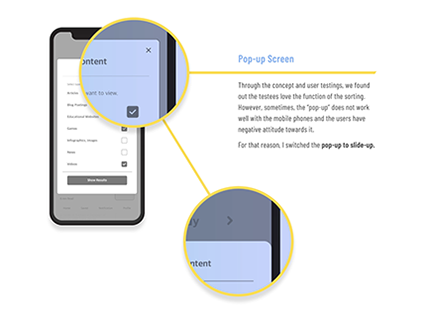
Introduce your
user testing synthesis
and show your realtime
board (miro) insights

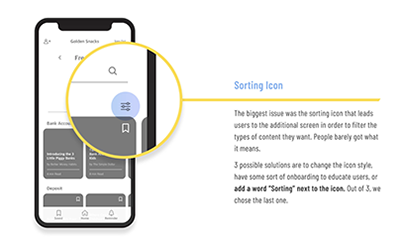
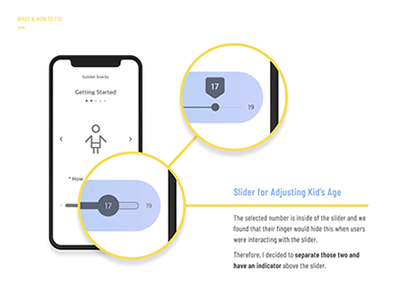
Pick some of the
top learnings and show
them next to the
wireframe screens.
You can show users
quotes as well.
-
You can magnify it
like the example
here to the right
or
Just have text
next to the screen
-
You can show a
before screen
(before you
iterated) and right
next to it show the
after screen (what the
screen looked like after
the fix)
LEARNINGS
THE
THE
VISUAL
DESIGN
THE
DESIGN
SYSTEM
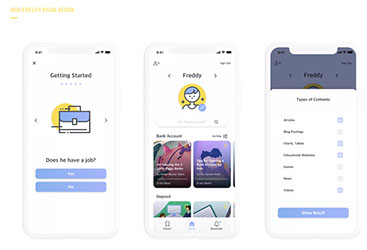
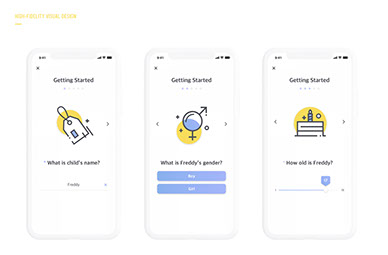
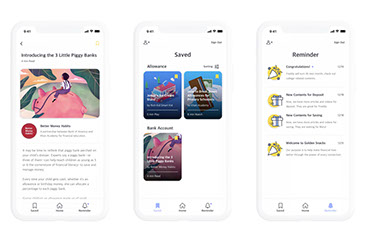
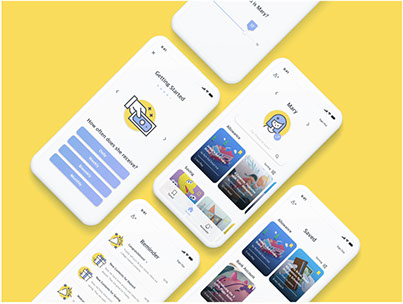
INTRODUCE
AND
SHOW YOUR
FINAL VISUAL
DESIGN IN
SCREEN
FORMAT.
ADD A BUTTON TO VIEW FINAL PROTOTYPE.
EXTRA CREDIT.
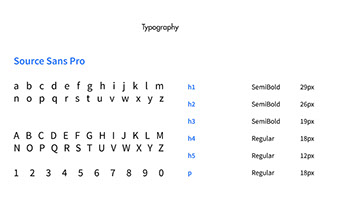
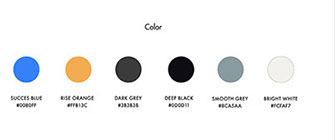
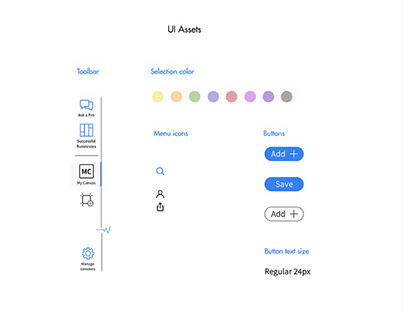
INTRODUCE YOUR
DESIGN SYSTEM,
SHOW YOUR FONTS,
COLORS, BUTTONS
AND ICONS
SHOW A FINAL
WOW SHOT AND
THANKS THE VIEWER
-
Look on dribbble
for inspiration
THANK
YOU